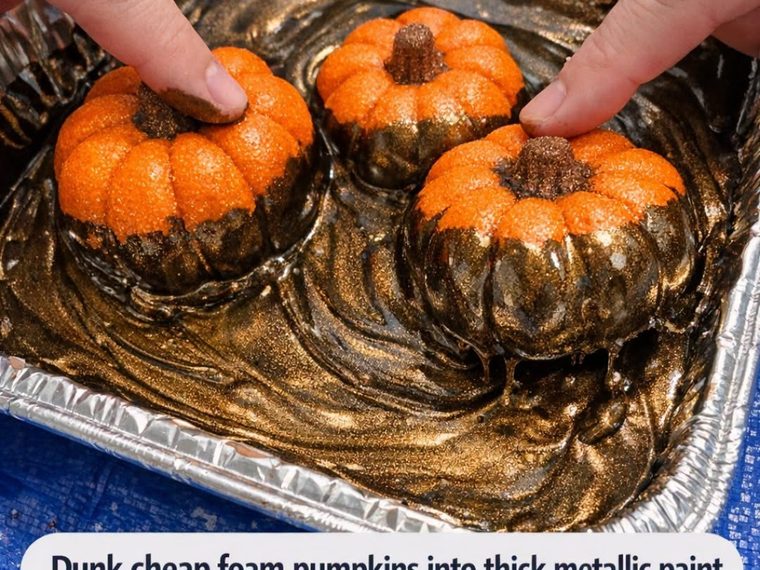
There’s something about a front porch dressed for harvest that takes me right back to the first chilly afternoons of October, when we’d haul in squash, stack crocks by the door, and make even the plainest corner feel special. These faux bronze harvest urns have that same old-fashioned richness, but they’re made from inexpensive foam pumpkins and a simple paint mixture that transforms them into something that looks far dearer than it is.
I especially love this project because it gives you a big, elegant result without demanding fancy tools or a lot of fuss. If you enjoy seasonal decorating, want a handsome trio for your porch or mantel, or simply like making budget materials look high-end, this is a satisfying little afternoon project.
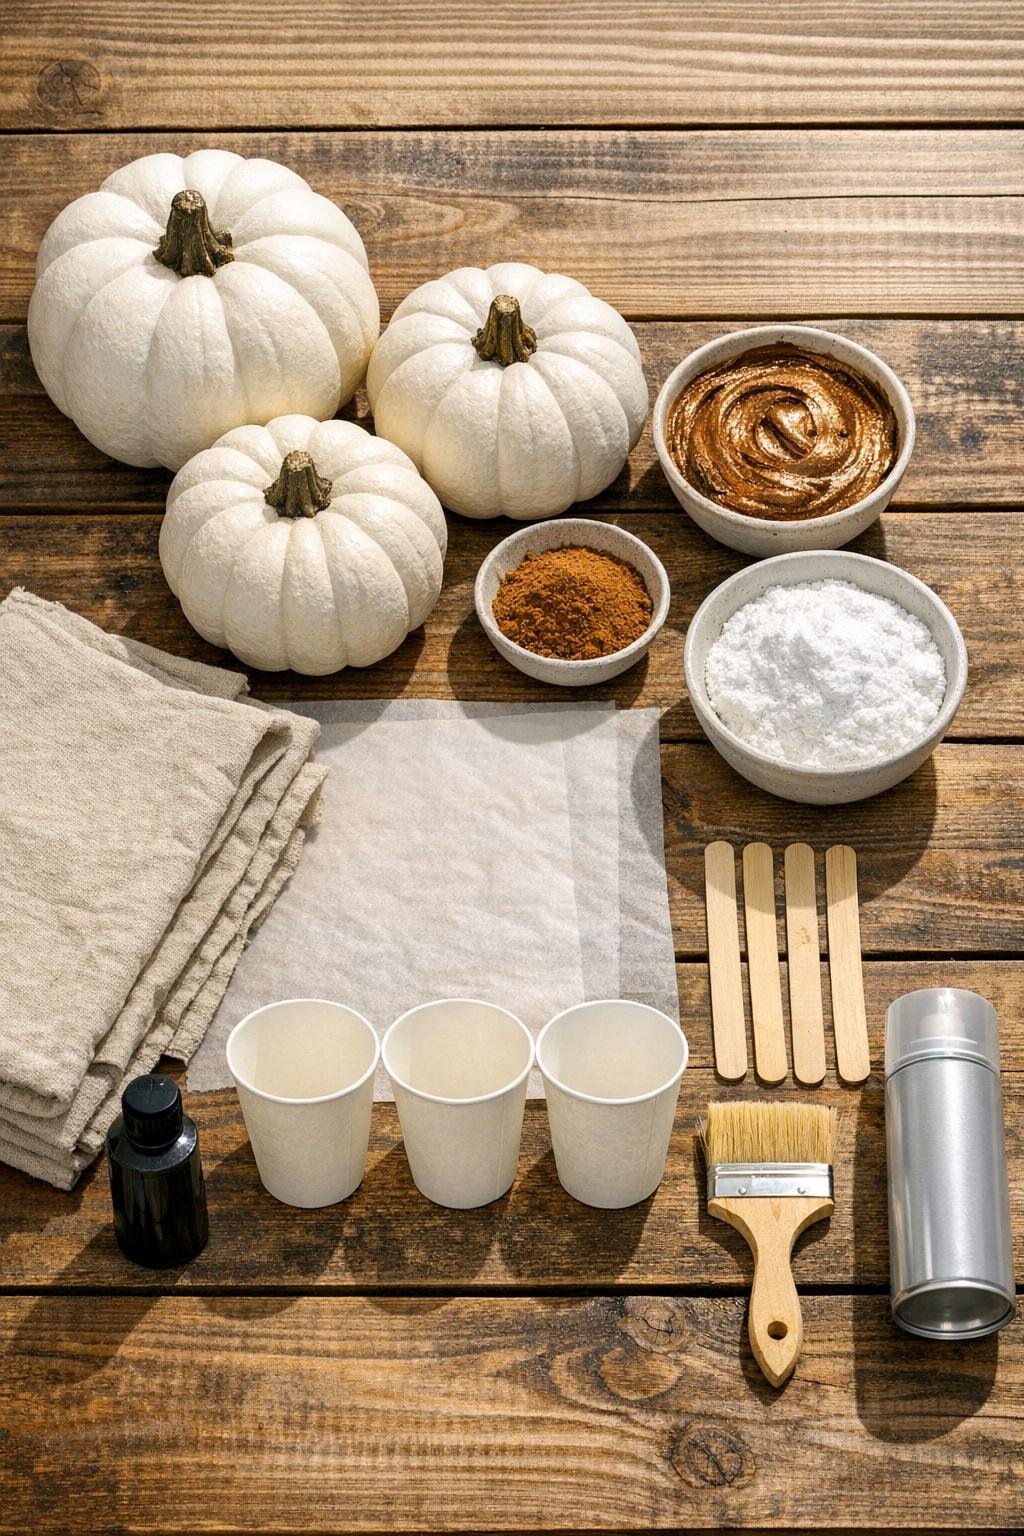
Materials
3 foam pumpkins, 1 each in 5-inch, 7-inch, and 9-inch diameters
1 cup thick bronze metallic acrylic paint or metallic furniture paint
3 tablespoons baking soda
2 tablespoons ground cinnamon
1 tablespoon black acrylic craft paint
1 teaspoon water, only if needed to loosen the paint slightly
1 clear matte spray sealer, 10 to 12 ounces
1 disposable mixing bowl or plastic container, 1 medium size
3 disposable cups, 8-ounce size, for dipping and resting stems if needed
3 wooden craft sticks or paint stir sticks
1 chip brush, 1 inch wide
1 small artist brush for stem detail
2 sheets parchment paper or freezer paper, about 12 x 16 inches each
1 drop cloth or flattened cardboard, at least 24 x 36 inches
1 pair disposable gloves
Instructions
1. Cover your work surface with a drop cloth and lay parchment paper on top so the painted pumpkins can dry without sticking. Set the three foam pumpkins aside and make sure any tags or plastic picks are removed.
2. In a disposable bowl, stir together the bronze metallic paint, baking soda, and cinnamon until the mixture is smooth and thick like pancake batter. Add up to 1 teaspoon of water only if the paint is so stiff that it won’t coat evenly.
3. Hold the smallest pumpkin by the stem and dunk the rounded body into the paint mixture, rolling it gently to coat the sides. Lift it straight up, let the excess drip back into the bowl for a few seconds, then set it on parchment paper to dry.
4. Repeat the dunking process with the medium and large pumpkins, coating each one fully around the body while leaving the stems mostly clean. If you miss a spot near the top or bottom, dab it in with the chip brush while the paint is still wet.
5. Let the first coat dry for 1 to 2 hours, or until the surface no longer feels tacky. The baking soda gives the pumpkins that lovely cast-metal texture, so don’t worry if the finish looks slightly uneven at this stage.
6. Use the chip brush to add a second coat anywhere the foam still shows through or where you want more depth and texture. Pounce the brush lightly instead of sweeping it flat so the finish keeps that old urn-like character.
7. Mix the black craft paint with just a dab of water on the brush, then work a light antiquing coat into the grooves and around the stem bases. Wipe back the high spots with your finger or a paper towel so the darker color settles mostly in the creases.
8. Touch the stems with a little bronze paint or leave them natural for contrast, depending on the look you prefer. I usually keep some of the stem color showing because it reminds me of real harvest pieces fresh from the garden wagon.
9. Once everything is fully dry, spray the pumpkins with a light coat of matte sealer and let them cure according to the can directions. This helps preserve the finish and tones down any plastic look from the foam base.
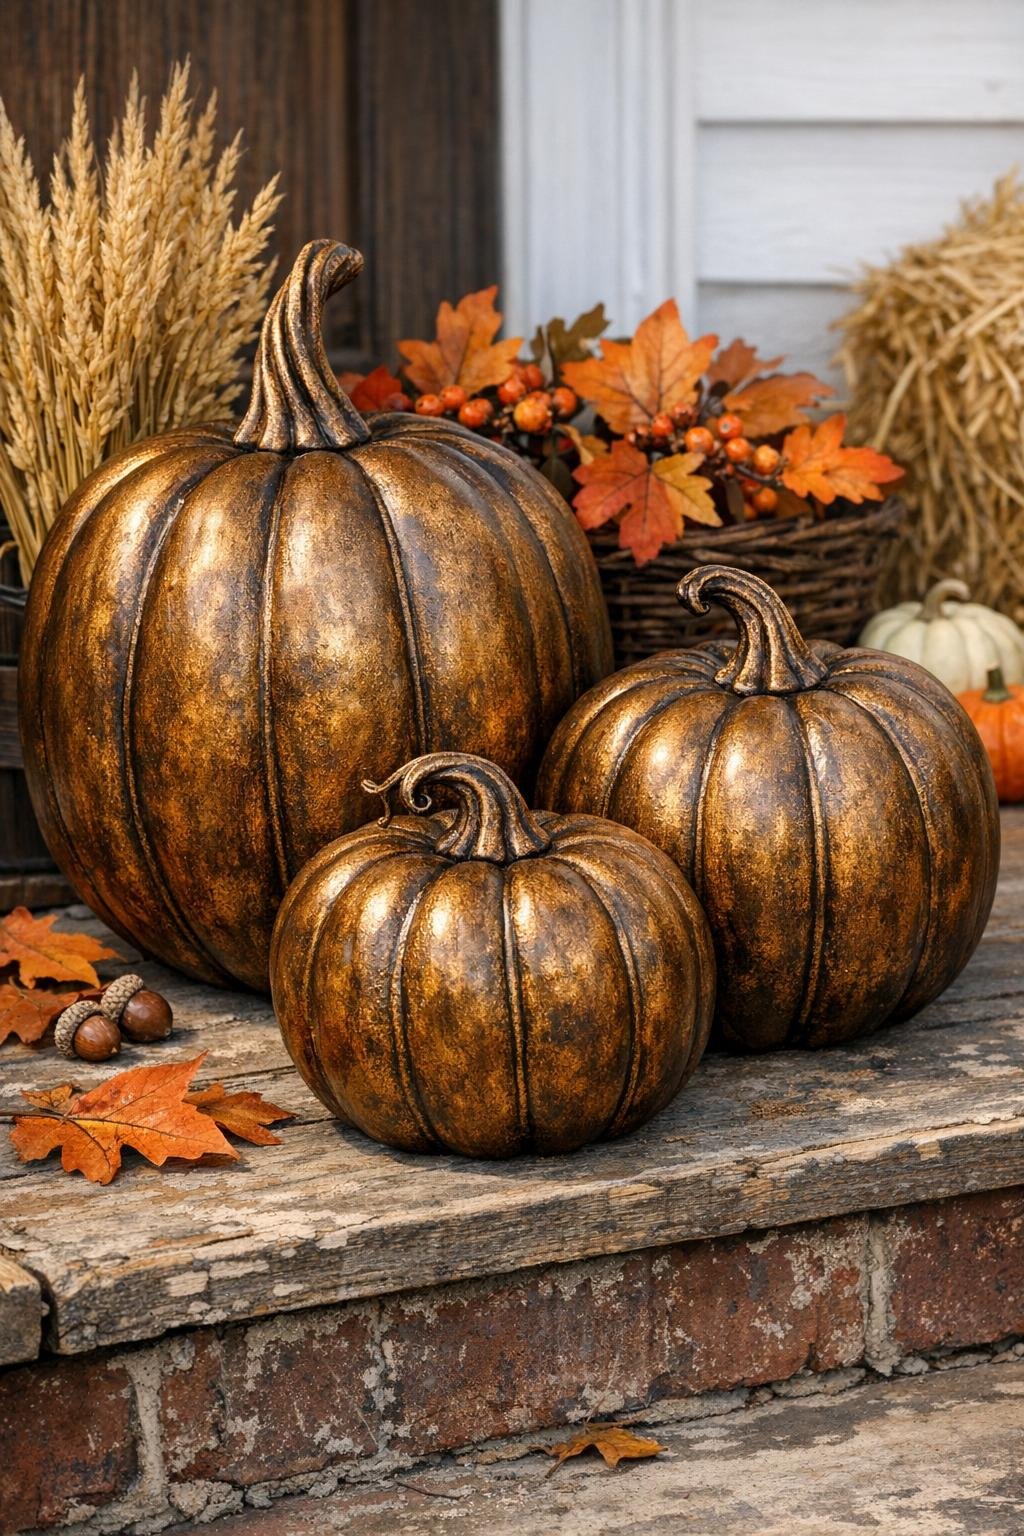
10. Arrange the three pumpkins as a tiered set on a porch step, in a planter, or down the center of a table so the sizes rise from small to large. Nestling them close together makes them read like a matched decorative urn collection.
Variations & Tips
Use different metallic shades: If bronze isn’t your color, this same method works beautifully with copper, antique gold, or dark brass paint. Choose a thick-bodied paint so the dunked finish stays rich and textured.
Make them look older: For a more weathered patina, dry-brush a tiny amount of dark brown or soft green over the grooves after the bronze dries. Keep it subtle; a little goes a long way.
Choose the right cinnamon: The cinnamon is there mostly for warmth and depth in the finish, not strong color. If your paint is already dark bronze, you can reduce it slightly and still get a lovely result.
Don’t over-thin the paint: If the mixture gets too runny, it will slide off the foam and lose that convincing cast-metal texture. Thick paint is your friend here.
Best placement: These hold up nicely indoors or on a covered porch for the season, but I wouldn’t leave them out in hard rain. Around here, I treat them the same way I would a favorite wreath or painted wooden sign.
Budget decorating trick: Make the trio from mismatched discount-store pumpkins and no one will know they didn’t come as a set. Once they share the same bronze finish, they look wonderfully collected and intentional.