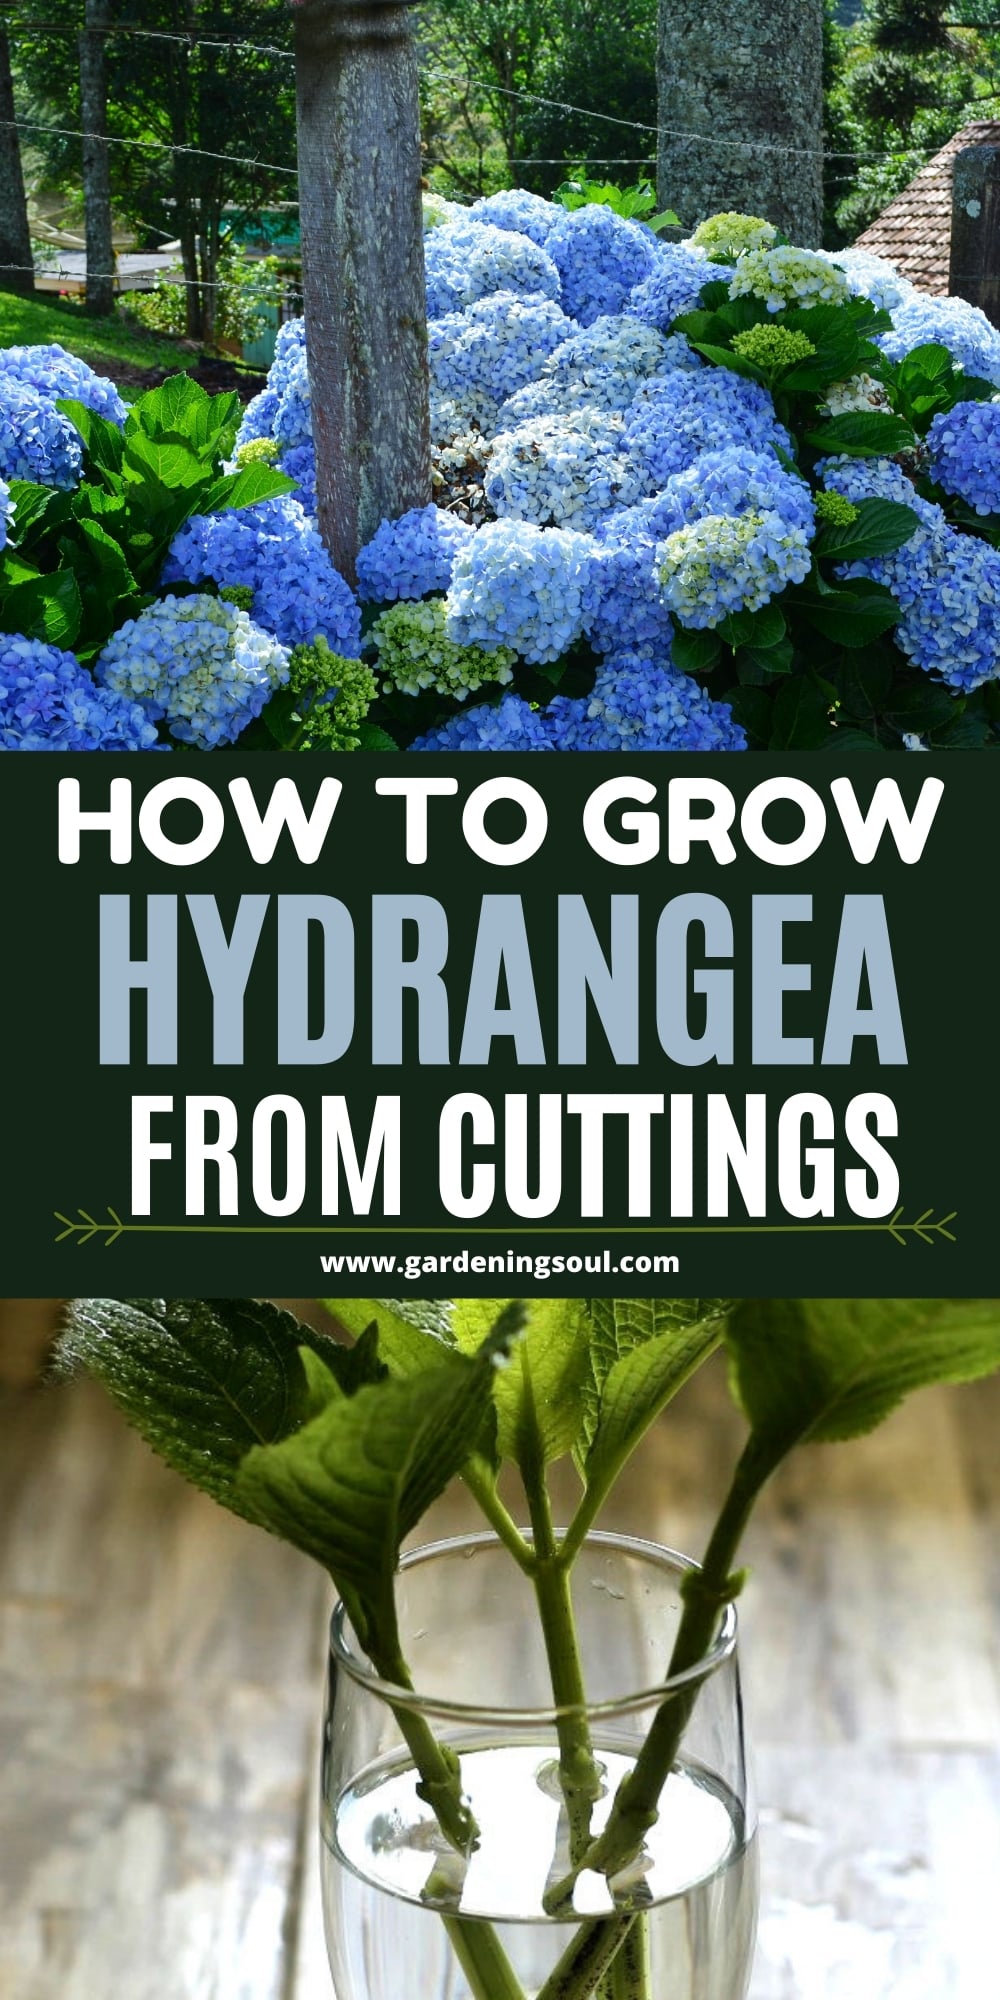
Hydrangeas are stunning flowering plants that add elegance and charm to any garden.
Their vibrant blooms and ability to thrive in various conditions make them a favorite among gardeners.
While you can buy new hydrangeas from a nursery, propagating them from cuttings is an inexpensive and rewarding way to expand your garden.
This detailed guide will walk you through everything you need to know about growing hydrangeas from cuttings, ensuring healthy plants and abundant blooms.
Why Propagate Hydrangeas from Cuttings?
Propagating hydrangeas from cuttings offers several advantages:
- Cost-Effective: Save money by growing new plants from your existing hydrangeas.
- Preserve Varieties: Propagation ensures you can replicate a particular hydrangea variety you love.
- Sustainable Gardening: Reduces the need to purchase new plants, making it an eco-friendly option.
- Quick Results: Compared to starting from seeds, cuttings establish faster and produce blooms sooner.
When to Take Hydrangea Cuttings
The best time to take hydrangea cuttings depends on the type of cutting you choose:
- Softwood Cuttings: Taken in late spring to early summer when the plant’s new growth is still soft and pliable.
- Semi-Hardwood Cuttings: Taken in late summer to early fall when the stems are firmer but not fully mature.
For beginners, softwood cuttings are often easier to work with as they root faster.
Tools and Materials Needed
Before you start, gather the following tools and materials:
- Sharp pruning shears or scissors
- Clean pot or container
- Rooting hormone (optional but recommended)
- Well-draining potting mix or a mix of perlite and peat moss
- Spray bottle filled with water
- Clear plastic bag or humidity dome
- Labels or markers (optional)
Step-by-Step Guide to Growing Hydrangeas from Cuttings
1. Choose a Healthy Mother Plant
Select a healthy, mature hydrangea plant free from pests and diseases. Look for vigorous stems with strong growth, as these will give the best results.
2. Take the Cutting
- Use sharp, sterilized pruning shears to cut a 4-6 inch section from a healthy stem. The cutting should have at least two to three leaf nodes (the bumps on the stem where leaves grow).
- Cut just below a leaf node at a 45-degree angle to increase the surface area for rooting.
3. Prepare the Cutting
- Remove the lower leaves, leaving only two or three at the top of the cutting.
- Trim the remaining leaves in half to reduce moisture loss and encourage root development.
- If flowers or buds are present, remove them to redirect the plant’s energy toward rooting.
4. Apply Rooting Hormone (Optional)
- Dip the cut end of the stem into a rooting hormone powder or gel. While this step isn’t mandatory, it significantly improves the success rate of rooting.
5. Plant the Cutting
- Fill a clean pot or container with a well-draining potting mix or a mix of perlite and peat moss.
- Use a pencil or stick to make a hole in the soil.
- Insert the cutting into the hole, ensuring at least one or two nodes are buried in the soil. Gently press the soil around the cutting to secure it.
6. Create a Humid Environment
- Mist the cutting lightly with water using a spray bottle.
- Cover the pot with a clear plastic bag or place it under a humidity dome to retain moisture.
- Ensure the plastic does not touch the leaves; use stakes if necessary.
7. Place in the Right Location
- Keep the pot in a warm, bright spot with indirect sunlight. Avoid placing it in direct sunlight, as this can scorch the cutting.
- The ideal temperature for rooting is between 65°F and 75°F (18°C – 24°C).
8. Monitor and Care for the Cutting
- Check the cutting daily to ensure the soil remains moist but not waterlogged.
- Remove the plastic bag or dome for a few minutes each day to prevent mold and mildew.
- After 2-4 weeks, gently tug on the cutting to check for resistance, which indicates root development.
Transplanting Rooted Hydrangea Cuttings
Once the cutting has developed a strong root system, it’s time to transplant it to a larger pot or directly into your garden.
Steps to Transplant:
- Choose the Right Spot: Hydrangeas prefer well-draining soil and partial to full shade, depending on the variety.
- Prepare the Soil: Enrich the planting area with compost or organic matter to boost soil fertility.
- Transplant with Care: Dig a hole large enough to accommodate the roots and plant the cutting at the same depth it was in the pot.
- Water Thoroughly: Water the transplanted cutting immediately to help it settle into its new environment.
Tips for Success
- Use Fresh Cuttings: Take cuttings early in the day when the plant is well-hydrated.
- Avoid Overwatering: Too much water can lead to root rot. Keep the soil moist but not soggy.
- Be Patient: Rooting can take several weeks. Don’t rush the process.
- Protect from Frost: If transplanting outdoors, ensure the young plant is protected from frost and extreme weather.
- Label Your Cuttings: If propagating multiple varieties, label each pot to keep track of your plants.
Common Problems and Solutions
1. Wilting Leaves:
- Cause: Too much sun or inadequate humidity.
- Solution: Move the cutting to a shaded area and mist it more frequently.
2. Mold or Mildew:
- Cause: Excess moisture and poor air circulation.
- Solution: Remove the plastic bag temporarily and ensure proper ventilation.
3. No Root Development:
- Cause: Cutting was too old or not treated with rooting hormone.
- Solution: Start with fresh cuttings and consider using rooting hormone.
Growing hydrangeas from cuttings is a simple and rewarding process that allows you to multiply your favorite plants and create a lush, colorful garden.
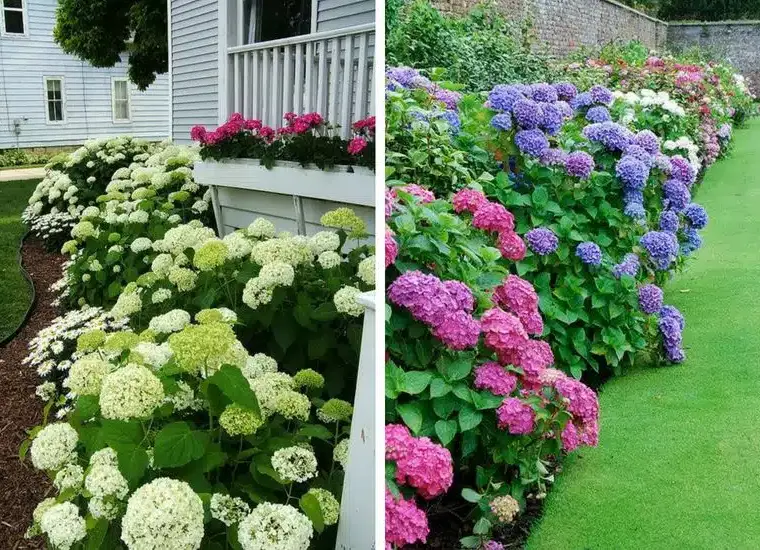
Here are some ideas for outdoor home decorating with hydrangeas: