
Transforming a vintage gold frame into a stunning spring wreath display is a creative way to breathe new life into an old piece. This DIY project not only repurposes a thrifted item but also adds a touch of elegance and seasonal charm to your home. By crafting this unique décor piece, you can personalize your space and showcase your creativity, making it a perfect project for those who love both vintage aesthetics and modern design.
This DIY project can be styled in various ways to complement your home décor. Hang the transformed frame wreath in your entryway to create a welcoming atmosphere, or place it above a mantel to serve as a focal point in your living room. Pair it with neutral-toned furniture and soft textiles to enhance its vintage charm, or contrast it with bold, modern pieces for an eclectic look. The gold frame adds a touch of sophistication, while the spring elements bring freshness and color, making it versatile for different interior styles.
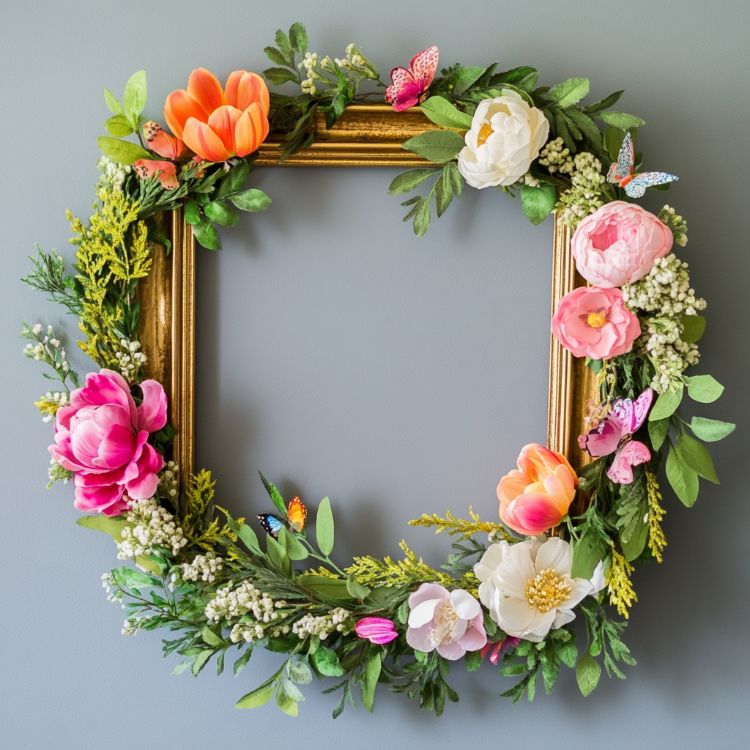
Antique Frame to Spring Wreath Display

Like DIY Everywhere – Arts & Crafts for more
Materials
1 vintage gold frame (approximately 16×20 inches)
Assorted artificial spring flowers (such as tulips, daisies, and peonies)
Greenery garland
Floral wire
Wire cutters
Hot glue gun and glue sticks
Ribbon (1-inch wide, in a coordinating color)
Small decorative bird or butterfly figurines (optional)
Directions
Begin by cleaning the vintage gold frame with a damp cloth to remove any dust or dirt.
Lay the frame flat on your workspace and arrange the greenery garland around the inner edge of the frame, securing it with floral wire.
Cut the artificial flowers from their stems using wire cutters, leaving about 2 inches of stem for attaching.
Arrange the flowers in clusters around the frame, mixing different types and colors for a natural look. Secure each cluster with floral wire or hot glue.
Add small decorative elements like bird or butterfly figurines to enhance the spring theme, using hot glue to attach them.
Cut a length of ribbon and tie it into a bow. Attach the bow to the top center of the frame using hot glue.
Allow the glue to dry completely before hanging the frame on the wall or displaying it on a shelf.
Like DIY Everywhere – Arts & Crafts for more
Variations & Tips
To personalize this DIY project, consider using different types of flowers or color schemes to match your home décor. For a more rustic look, use a distressed wooden frame instead of a gold one. You can also incorporate seasonal elements, such as small Easter eggs for a spring theme or autumn leaves for a fall display. Experiment with different ribbon styles and colors to add a unique touch. Additionally, consider adding a small chalkboard or wooden sign in the center of the frame with a seasonal message or family name for a personalized touch.