Houseplants bring a slice of nature indoors, creating a serene environment and improving air quality. However, they can also invite unwelcome guests: pesky root gnats. These tiny insects not only irritate plant owners but can also harm the plants themselves.
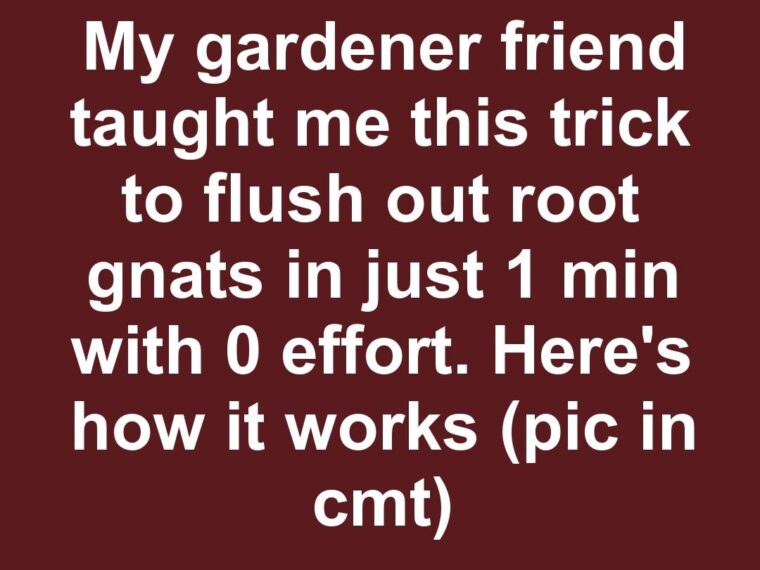
Like many plant enthusiasts, I’ve spent countless hours researching and experimenting with various methods to rid my home of these nuisances. It wasn’t until a casual conversation with my gardener friend that I discovered a simple trick that changed everything. In just one minute, and with virtually no effort, I could flush out root gnats for good.
1. How a Casual Backyard Chat Turned Into a Game-Changing Gnat Hack
It was a sunny afternoon when I visited my gardener friend, known for her lush, vibrant garden. We chatted about our mutual love for plants and the challenges that come with keeping them healthy indoors. As I lamented about my gnat problem, she shared a trick she stumbled upon.
With a knowing smile, she explained that the secret lay in a simple ‘flush’ using a common household item. Intrigued, I listened as she detailed her method, assuring me it would take less than a minute and require no special equipment. Her confidence was contagious, and I was eager to try it out myself.
2. What Root Gnats Actually Are and Why They Love Your Houseplants
Root gnats, commonly referred to as fungus gnats, are small, dark insects that thrive in the damp soil of potted plants. They’re often mistaken for fruit flies but have distinct characteristics, such as long legs and a tendency to hover around soil rather than fruits.
These gnats are attracted to the moist environments of houseplants because they lay their eggs in the soil. Once hatched, the larvae feed on organic matter and sometimes delicate root hairs, which can stunt plant growth and lead to poor health. The key to controlling these pests lies in disrupting their breeding cycle.
3. The One-Minute ‘Flush’ Trick My Gardener Friend Swears By
The trick is deceptively simple: a quick flush using diluted hydrogen peroxide. My friend explained that by mixing one part hydrogen peroxide with four parts water, you create a solution that not only flushes out the larvae and gnats but also oxygenates the soil, promoting root health.
She assured me that this method is effective due to hydrogen peroxide’s ability to kill the larvae while being safe for the plants when used in the right concentration. It’s a quick fix that targets the problem at its source, ensuring that the gnats are eradicated before they can mature and reproduce.
4. The Simple Household Item You Need to Trigger a Gnat Exodus
Hydrogen peroxide is the star of this trick. It’s a common household item that many people have in their medicine cabinets, typically used for disinfecting cuts and scrapes. When diluted properly, it becomes a powerful tool against root gnats.
You only need a small bottle to create enough solution for several plants. This accessibility makes it a go-to solution for plant owners who are looking for an immediate and effective remedy without the need for commercial pesticides.
5. Step-by-Step: Setting Up the Zero-Effort Flush in Under 60 Seconds
To perform the flush, start by measuring one part hydrogen peroxide and mixing it with four parts water in a watering can or spray bottle. Ensure the hydrogen peroxide is at a 3% concentration, which is safe for plants.
Gently pour the solution over the soil of the affected plant until it starts to drain out of the bottom. This process should take less than a minute and requires minimal effort. The solution works quickly to flush out gnats and larvae, effectively disrupting their life cycle.
6. Why This Works: The Science Behind Flushing Root Gnats Out
The effectiveness of this trick lies in the properties of hydrogen peroxide. When applied to soil, it releases oxygen, creating an unfavorable environment for larvae while simultaneously benefiting the plant roots.
The additional oxygen helps strengthen the roots and improve nutrient uptake, while the peroxide’s mild antiseptic properties kill any larvae present in the soil. This dual action makes it an efficient method for both pest control and plant health.
7. The Viral Plant-TikTok Variations on This Gnat Flush Trick
Since its discovery, this trick has gained popularity across social media platforms like TikTok, where plant enthusiasts share their variations. Some users add a drop of dish soap to the solution to break the surface tension and ensure better penetration into the soil.
Others have experimented with adding essential oils like neem or peppermint for additional pest-repelling properties. These variations highlight the creativity of the plant community in adapting and enhancing simple solutions for common problems.
8. How to Use the Trick Safely on Different Types of Plants
While the hydrogen peroxide flush is generally safe for most houseplants, it’s important to consider the specific needs of your plants. For delicate plants, perform a patch test on a small section of soil to ensure no adverse reactions.
Plants that prefer drier conditions, like succulents and cacti, should have the solution applied sparingly to avoid overwatering. For tropical or moisture-loving plants, this method can be used more liberally, ensuring the soil is adequately flushed.
9. What You’ll See in the First 24 Hours After the Flush
Immediately after the flush, you may notice an increase in gnat activity as the pests attempt to escape the soil. This is a sign that the treatment is working. Within 24 hours, gnat numbers should significantly decrease as larvae are killed and adults are deterred.
Your plants will begin to show signs of improved health as the roots benefit from the additional oxygen. Leaves may appear more vibrant, and overall growth should improve with continued care.
10. Pairing the Flush With Sticky Traps for Maximum Knockdown
For a comprehensive approach, combine the flush with sticky traps to catch adult gnats. Place these traps near the base of your plants or around windows where gnats tend to congregate.
The traps will capture flying adults, preventing them from laying more eggs in the soil. This combination of treatments tackles both the larvae and adult stages of the gnat lifecycle, ensuring a more effective reduction in their population.
11. How Often to Repeat the Trick Without Stressing Your Plants
To maintain control over gnats without stressing your plants, repeat the flush every two weeks. This schedule allows you to disrupt the gnat lifecycle consistently without over-oxygenating the soil.
Monitor your plants’ response to the treatment and adjust as necessary. If you notice any signs of stress, such as wilting or discoloration, reduce the frequency and focus on improving soil drainage and watering habits.
12. Quick Tweaks If the Gnat Flush Doesn’t Seem to Work
If the flush doesn’t yield the desired results, consider increasing the concentration of hydrogen peroxide slightly, but never exceed a 1:3 ratio to avoid harming the plants.
Alternatively, examine other factors such as soil quality and drainage, as poor conditions can contribute to persistent gnat problems. Incorporating well-draining soil mixes and adjusting watering practices can enhance the effectiveness of the flush.
13. Long-Term Prevention: Soil, Watering, and Potting Habits That Keep Gnats Away
Long-term prevention of root gnats involves maintaining optimal soil conditions and watering habits. Use well-draining potting soil to prevent excess moisture, which attracts gnats
Allow the top layer of soil to dry out between waterings, as this discourages egg-laying. Regularly inspect your plants for signs of gnats and adjust care routines as needed to maintain a healthy, pest-free environment.